
AWeber Countdown Timer — How to Add a Countdown in AWeber
Transform your AWeber email campaigns with engaging dynamic countdown timers that create urgency and drive action. Whether you're promoting a flash sale, event registration, or product launch, countdown timers can significantly boost your email engagement rates. Follow this guide to seamlessly integrate MailCountdowns with your AWeber campaigns.
Prerequisites
Before you begin, make sure you have:
- A mailcountdowns.com account
- Access to your AWeber account
- An email campaign ready to be enhanced with a countdown timer
Step-by-Step Integration
1. Generate Your Countdown Timer
1. Log in to your MailCountdowns dashboard. You can click this link to open it in a new tab and keep this guide open at the same time!
2. Click "Create New Timer"
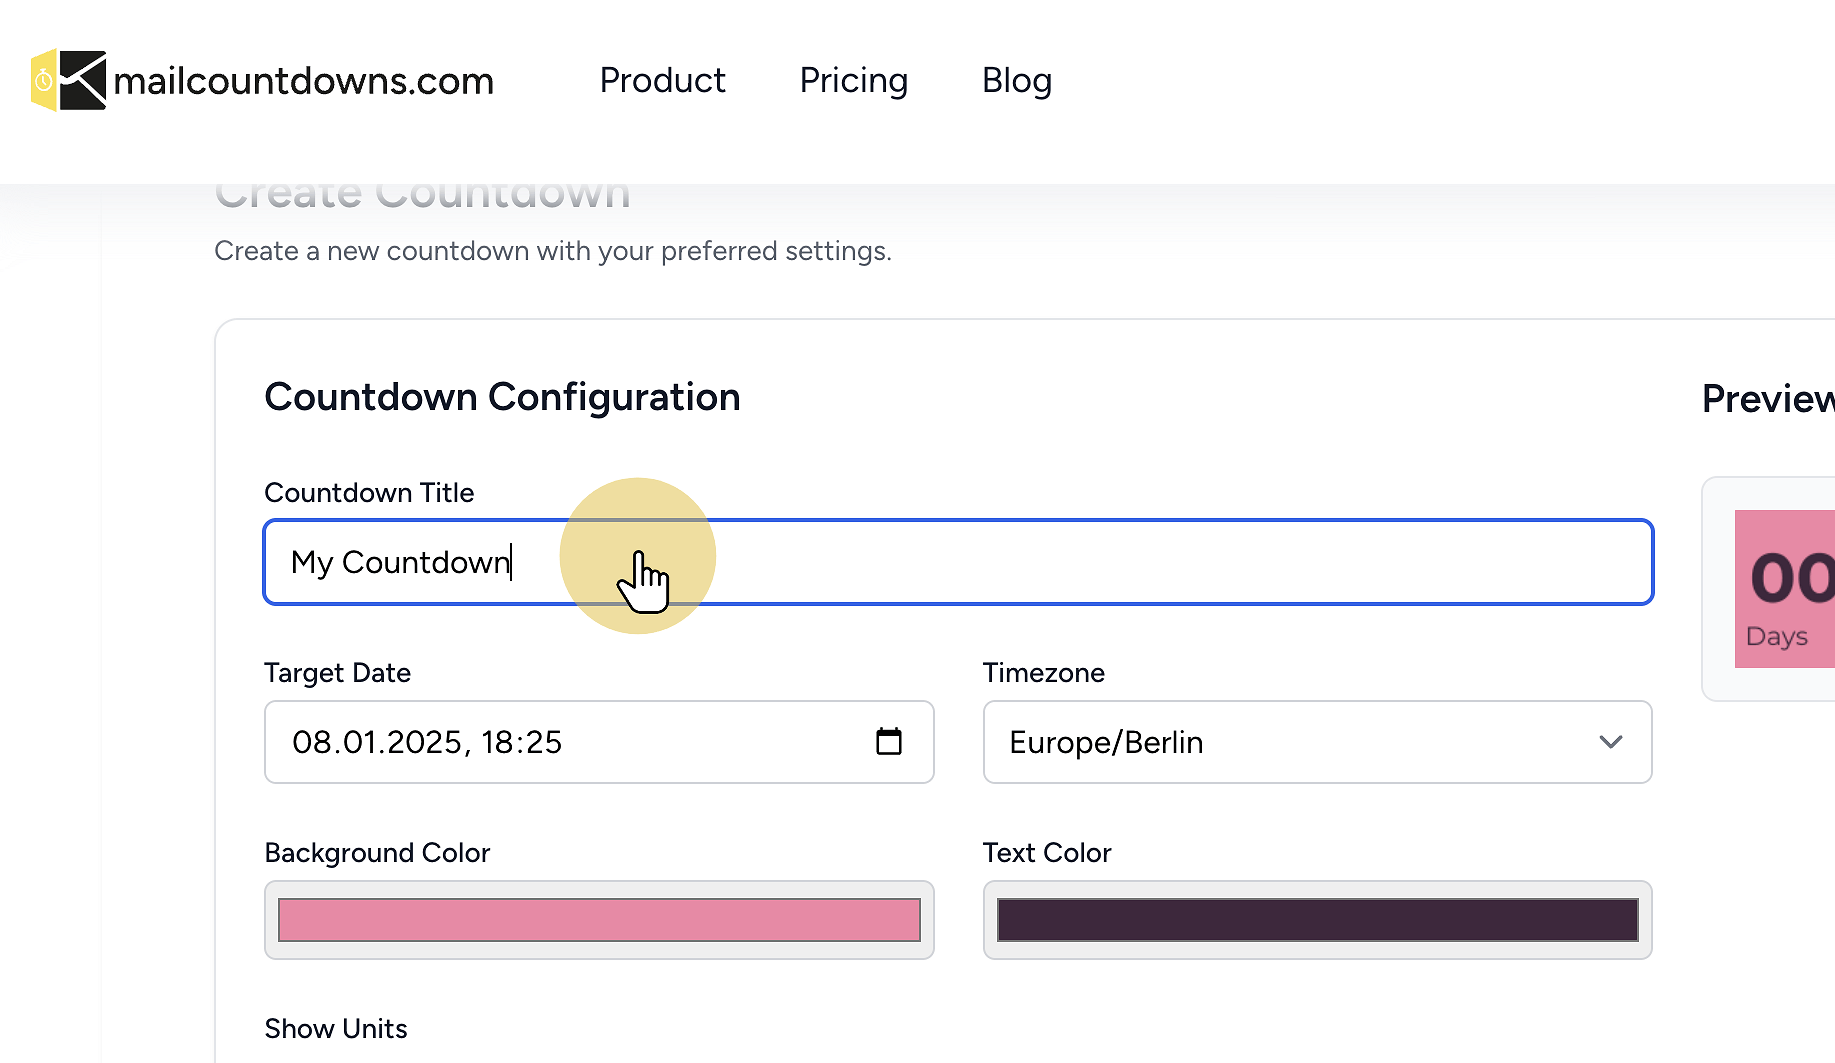
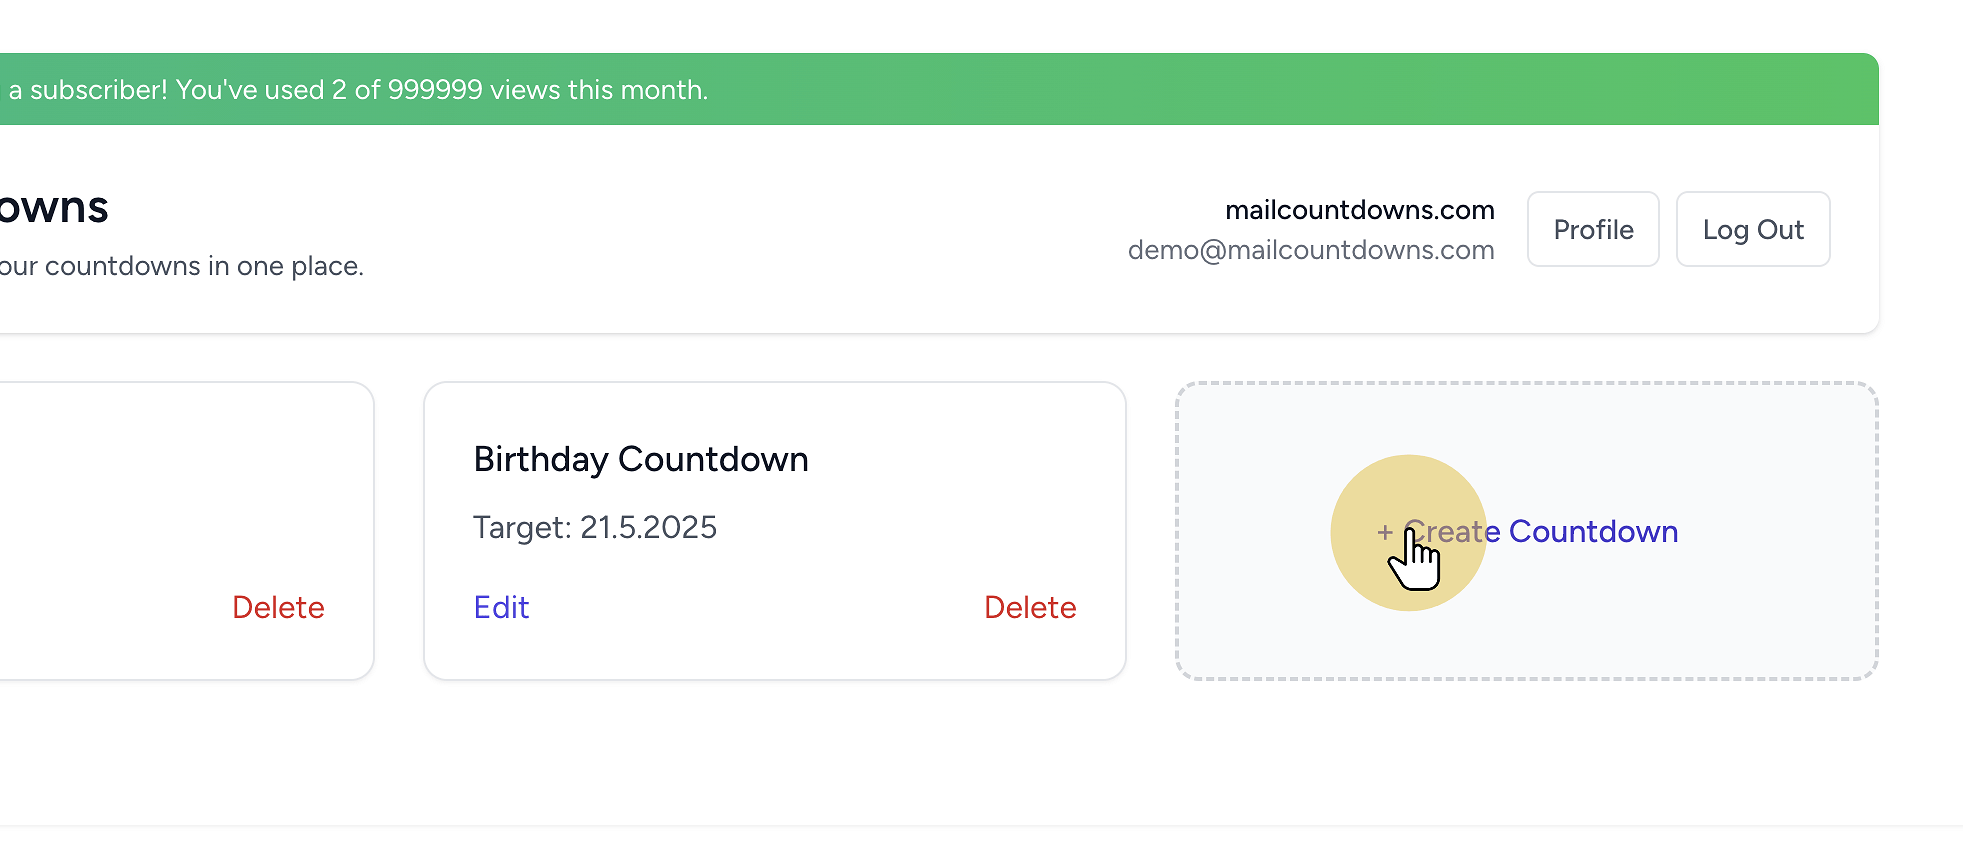 3. Customize your countdown timer
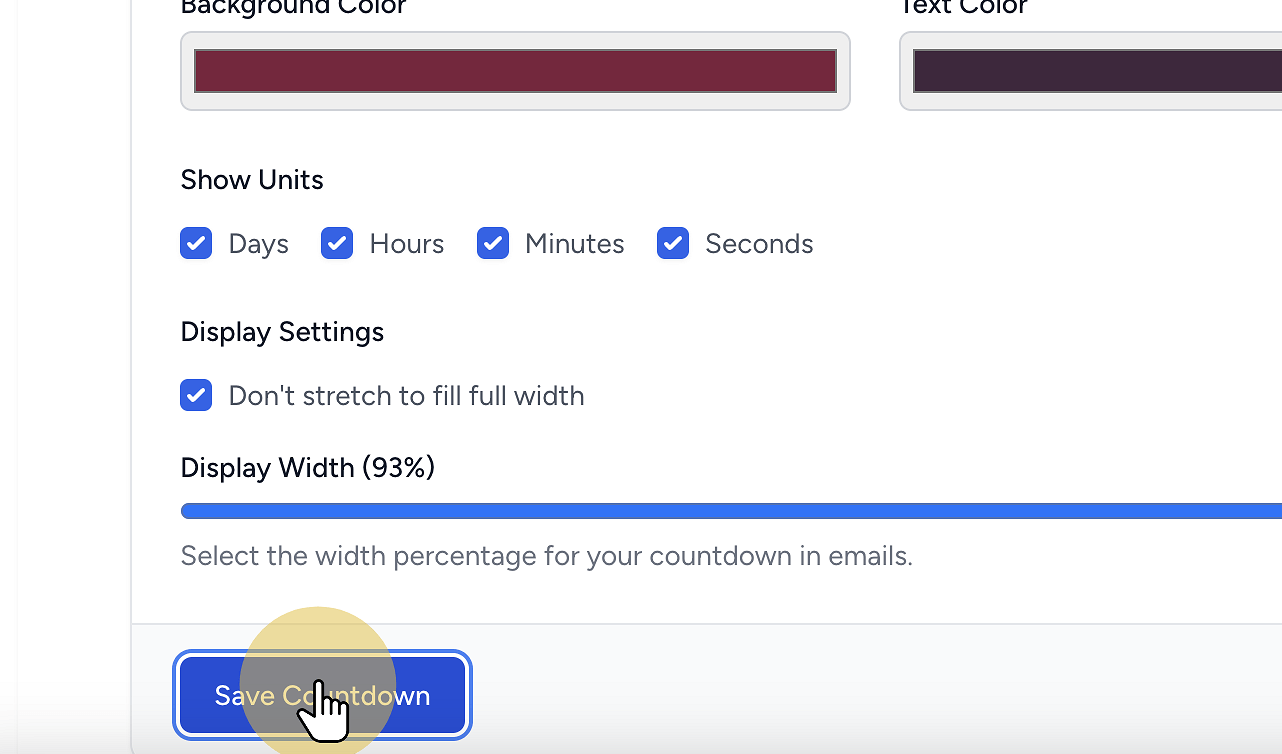
 4. Save your countdown timer
 5. Copy the generated HTML code
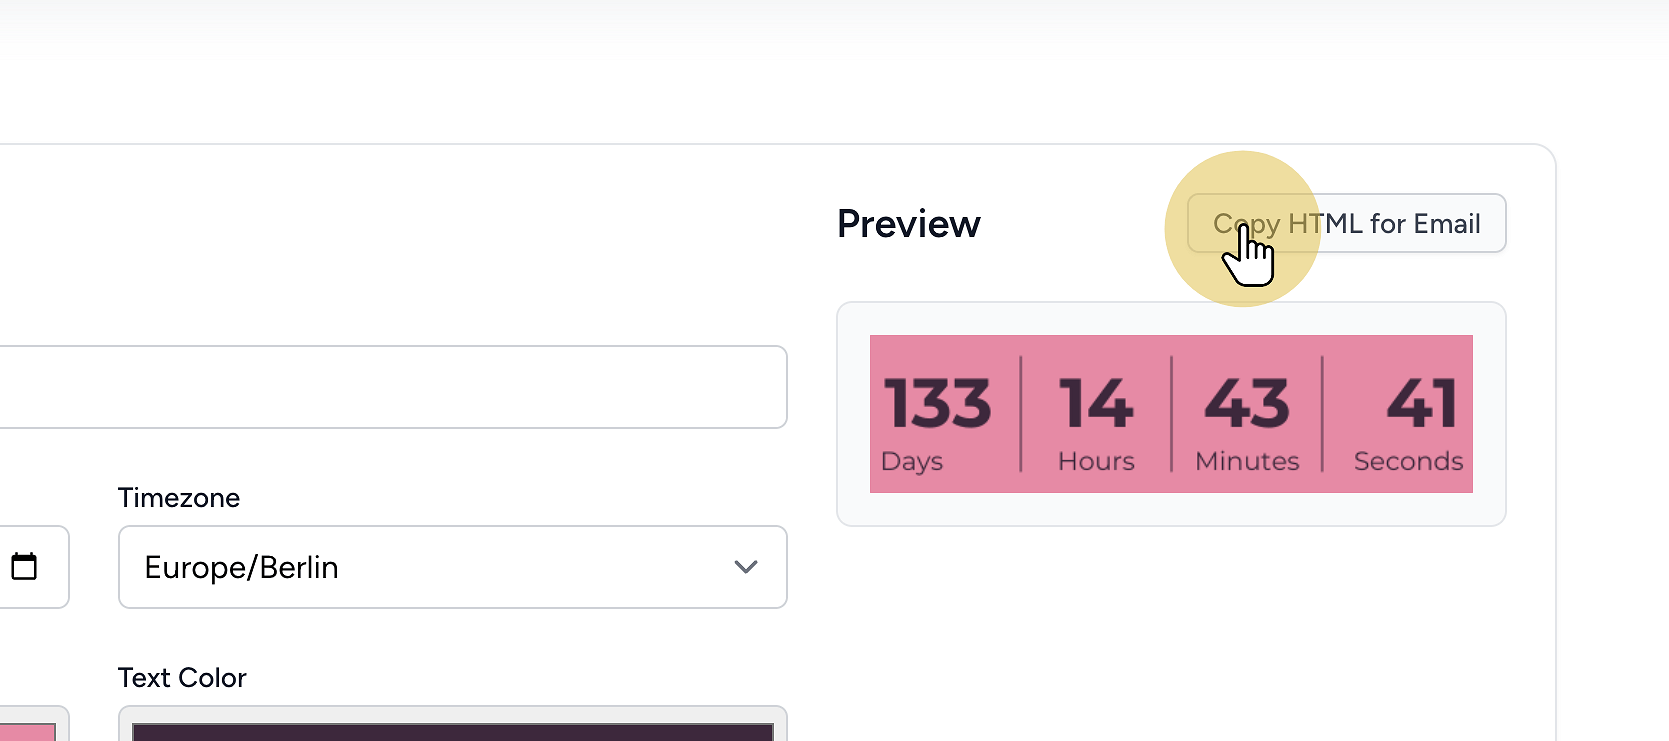
All set! You're ready to integrate your countdown timer. The HTML code is now saved in your clipboard and ready to be used.
2. Add the Timer to AWeber
Access AWeber Message Editor
Log in to your AWeber account and navigate to Messages > Drafts. Create a new message or edit an existing draft.
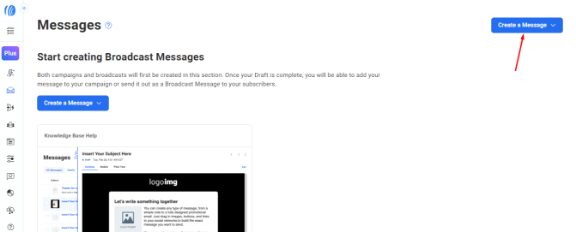
Insert HTML Block
Click the 'HTML' element in the editor sidebar and drag it to your desired location in the email template.
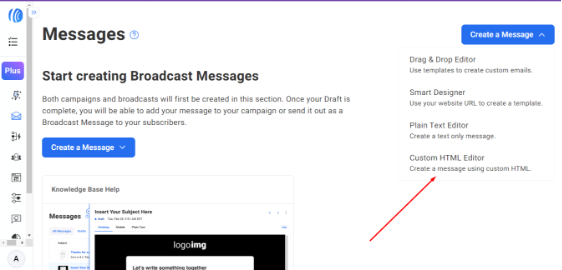
Add Your Countdown Timer
Paste your generated countdown timer code into the HTML block. Ensure all elements are properly included.
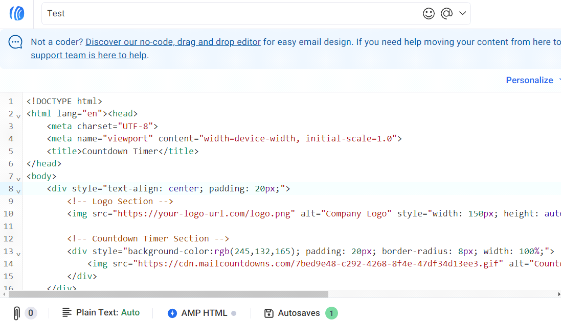
Preview and Test
Use AWeber's preview function to verify your countdown timer displays correctly across different devices.
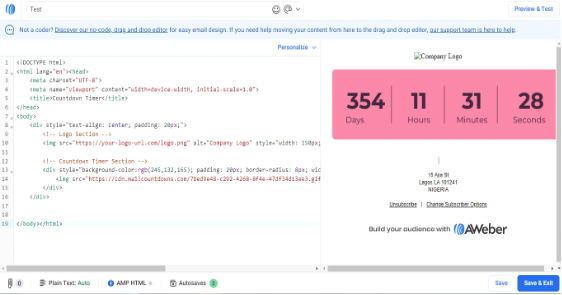
3. Test Your Integration
Before launching your campaign:
- Send test emails to various email clients (Gmail, Outlook, Apple Mail, etc.)
- Verify that the timer updates correctly (it should refresh every 2 minutes when reloading)
- Check the display on both desktop and mobile devices
- Ensure the countdown animation is smooth and readable
Best Practices
- Position your countdown timer strategically near your call-to-action
- Use colors that complement your brand's visual identity
- Maintain a clean, uncluttered design around the timer
- Test different placements to optimize engagement
- Keep your timer visible without scrolling on mobile devices
Advanced Tips
- Create segment-specific timers for targeted campaigns
- Use A/B testing to measure the impact of timer placement and design
- Set up timezone-specific countdowns for international audiences
- Combine timers with AWeber's personalization features
- Track click-through rates to measure timer effectiveness
Need Help?
Our support team is ready to assist you with your integration. Contact us or visit our comprehensive documentation for detailed information and troubleshooting guides.
AWeber Countdown Timer FAQ
Does AWeber support countdown timers? Yes—add an HTML element and paste your timer HTML.
Will it animate for my subscribers? Yes, as an animated GIF in most clients. Outlook shows the first frame.
Is there a free, no‑watermark option? Yes. Create timers without watermarks on the free plan.
Related guides
- Mailchimp countdown timer: How to add a countdown in Mailchimp
- Klaviyo countdown timer: How to add a countdown in Klaviyo
- Omnisend countdown timer: How to add a countdown in Omnisend
- Free no‑watermark timer: Create a free email countdown timer
Ready to Add Countdown Timers to Your Emails?
Create urgency and boost engagement in your email campaigns with dynamic countdown timers.